When a tree or large plant is removed, the void left behind can disrupt the harmony of your outdoor space. At Flask Gardening & Maintenance, we specialise in revitalising gardens after tree removal. These post-removal landscaping tips will help you rejuvenate your yard, ensuring it remains functional, beautiful, and balanced.
Key Takeaways
- Clear the area: Prepare the ground by removing debris and levelling the surface.
- Revive the soil: Test and amend soil to restore its health.
- Plant wisely: Select flora that complements the space and thrives in current conditions.
- Design intentionally: Introduce focal points to replace the tree’s visual impact.
- Prevent issues: Address stumps and manage soil to avoid future complications.
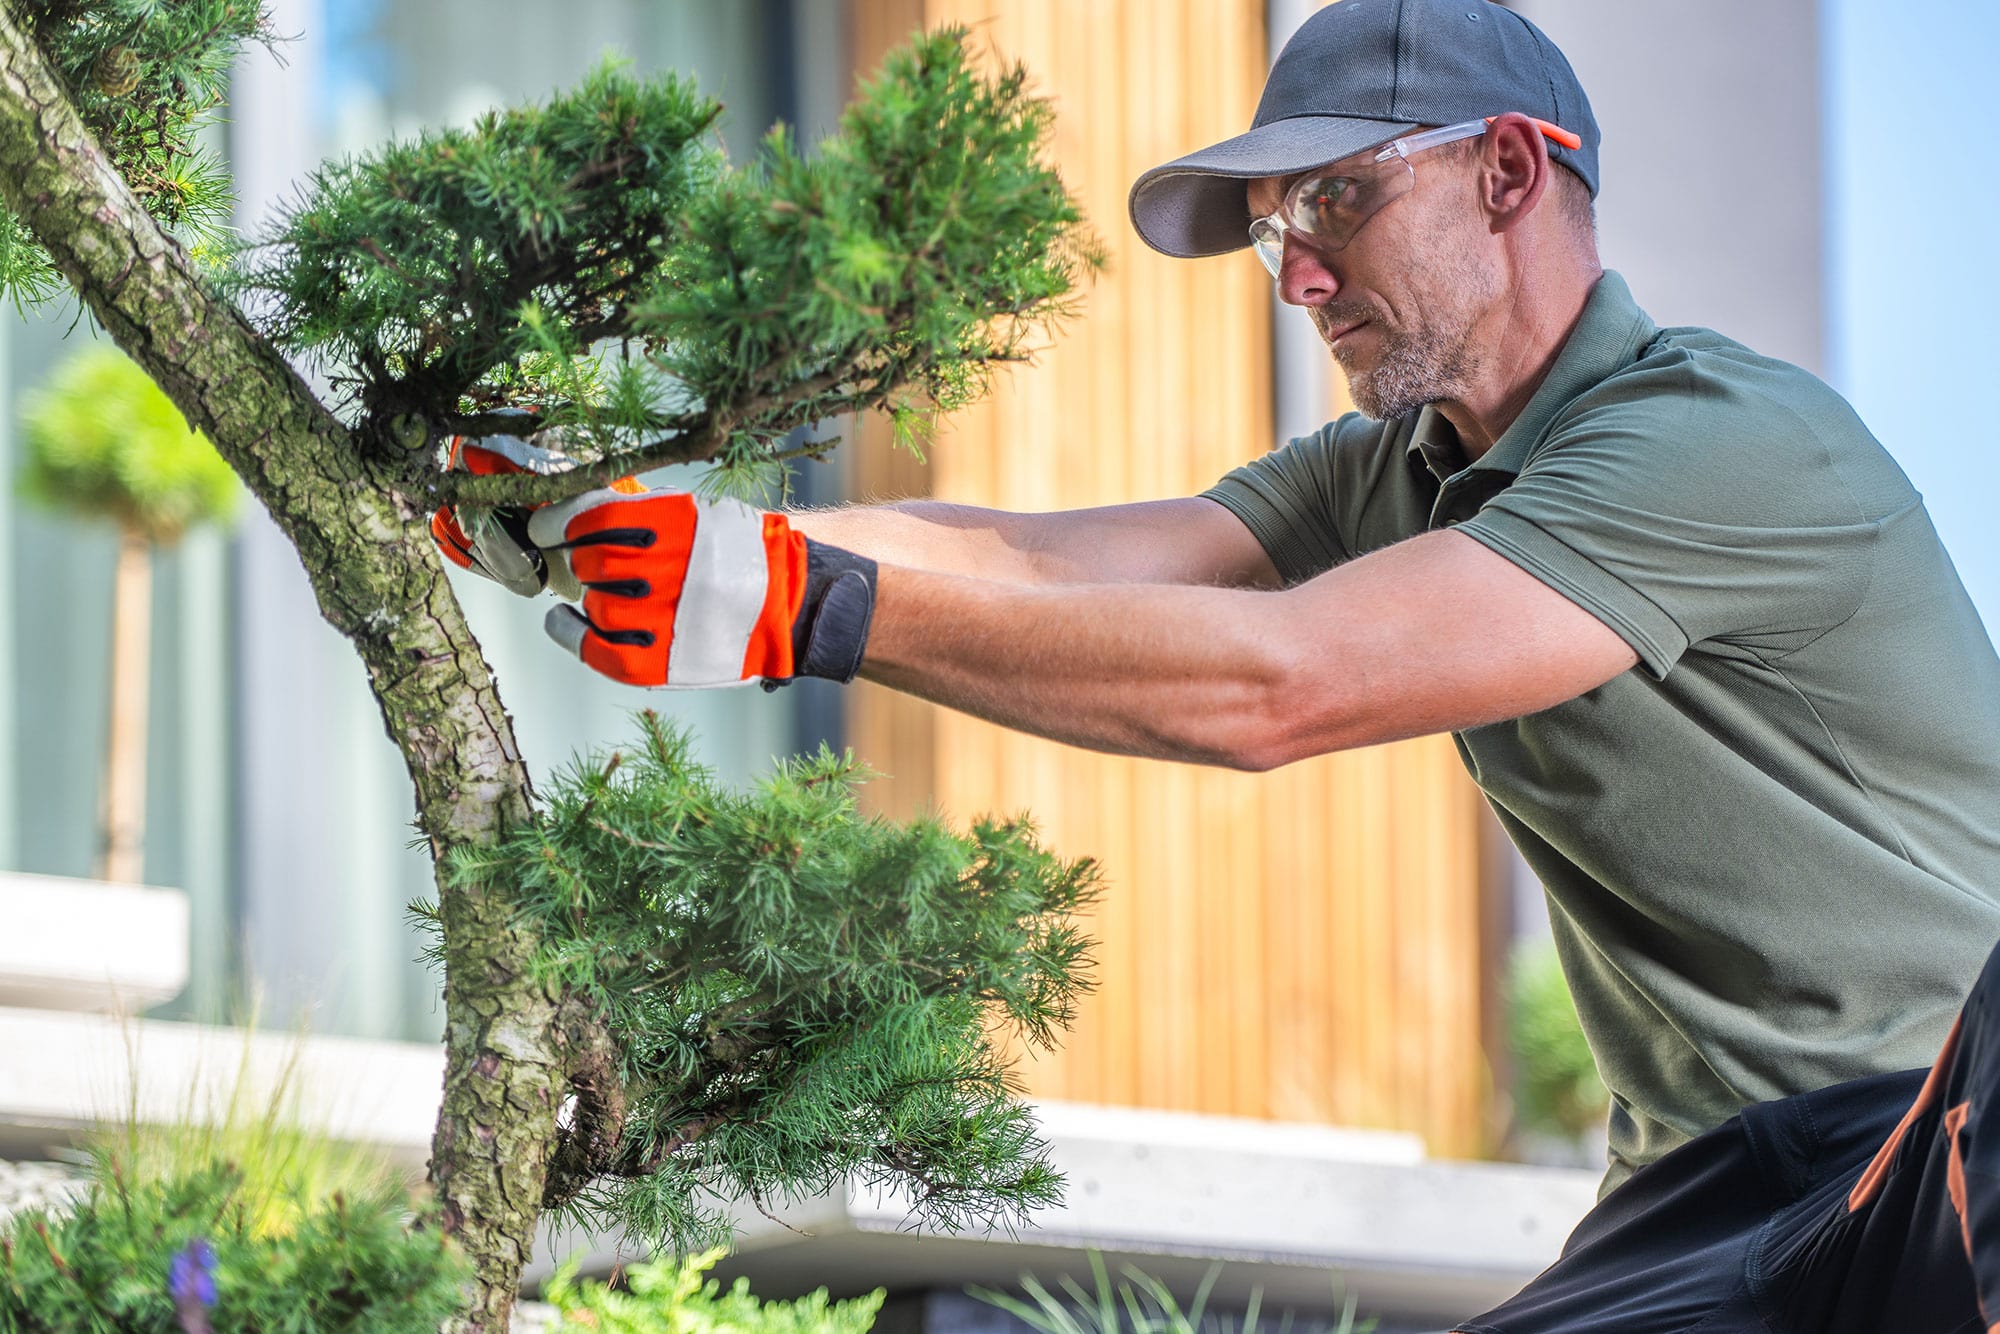
The Challenges After Removal
Tree removal, while necessary at times, leaves behind more than just a stump. The soil may be compacted, the landscape uneven, and the garden design disrupted. Recognising the signs of tree removal and addressing these issues promptly can restore your garden’s health and aesthetics.
Steps to Revitalise Your Garden
-
Assess the Damage and Clean Up the Area
The first step after removal is to assess the site. If there are large stumps, tree roots, or debris left behind, these need to be addressed. It’s important to remove any leftover materials to prevent future issues, such as pest infestations or uneven ground.
- Stump Removal: You can hire a professional stump grinding service or use a stump removal solution. If you decide to do it yourself, you can use a chainsaw to cut the stump as low to the ground as possible and then remove the remaining roots with an axe or shovel.
- Root System: If tree roots are still in place, it’s crucial to remove them before planting anything new. They can compete with new plants for nutrients and water.
- Debris Disposal: Gather up any leftover branches, leaves, or other materials that may have been left behind and dispose of them properly.
A professional services can help ensure thorough site clearing and proper disposal, saving you time and effort. A clean slate is essential for a successful landscaping project, so don’t rush through this step. Taking the time to properly clear the area will make the next phases of landscaping much easier and more effective.
-
Assess Soil Health
After the removal of plants, especially trees, the soil might be left compacted, depleted of nutrients, or even imbalanced in pH. The root system of trees and shrubs plays a vital role in maintaining soil structure, so their absence may create an unstable environment for new growth. Here’s how to assess and improve your soil:
- Soil Testing: Conduct a soil test to understand its soil pH levels and nutrient content. Many home improvement stores offer soil testing kits or you can send samples to a local extension service.
- Amend the Soil: If the soil is compacted, it might need aeration to allow air, water, and nutrients to penetrate. You can use a garden fork or hire an aeration machine to perforate the soil. Afterwards, add soil organic matter such as compost or mulch to improve its texture and fertility.
- Adding Fertiliser: If soil nutrients are lacking, adding slow-release organic or synthetic fertilisers will help ensure the success of future plantings.
Improving soil health is one of the most critical aspects of preparing a site for new plants, as healthy soil encourages vibrant, strong growth.
-
Consider New Plantings
Once the area is cleared and the soil is healthy, it’s time to consider new plantings. Depending on the size and location of the removed plants, you may want to focus on filling in gaps with new trees, shrubs, or flowers.
- Choose the Right Plants: Select plants that are suitable for your climate, soil, and sun exposure. Be mindful of plant size and growth habits to avoid overcrowding.
- Native Plants: Whenever possible, opt for native species. Native plants are well adapted to your region’s soil and climate, requiring less maintenance and water once established. They also attract beneficial wildlife such as birds and powerful pollinators.
- Layering: Think about layering plants for visual interest. Use tall plants or trees at the back, medium-sized plants in the middle, and ground cover or flowers in the front. This approach will create a more natural, aesthetically pleasing landscape.
When planting, ensure that the new plants are spaced appropriately and follow any specific planting instructions for each species to encourage healthy growth.
-
Incorporate Mulch and Ground Cover
Once you’ve planted new plants, adding mulch around them will provide several benefits. Mulch materials retains moisture, prevents weed growth, and helps regulate soil temperature.
- Organic Mulch: Shredded bark, wood chips, or leaf litter are good choices for mulching process around plants. Organic mulch will also break down over time and add valuable nutrients back into the soil.
- Ground Cover: If you have large bare areas, ground covers such as creeping thyme, clover, or low-growing grasses can help fill in these spaces quickly. Ground covers are also excellent for preventing soil erosion in sloped areas.
Not only will mulch and ground covers make your yard look more lush and inviting, but they also reduce maintenance in the long term.
-
Plan for Future Maintenance
Landscaping isn’t a one-time job. After you’ve made the necessary changes to your space, it’s important to plan for future upkeep. Regular watering, pruning, and fertilising will ensure the health of your plants, and addressing any pest or disease issues early will help prevent long-term problems.
- Irrigation System: Installing a drip irrigation system or soaker hoses will ensure that new plants get adequate water while conserving resources. This is particularly helpful for larger areas or regions prone to drought.
- Weeding: Keep weeds in check by regularly pulling them or using a weed barrier under mulch. Weeds compete with plants for nutrients and water.
- Pruning: Prune dead or damaged branches as needed to maintain the health and shape of your plants. Pruning also encourages new growth and helps plants thrive.
Planning for ongoing care will help you maintain a beautiful, thriving yard in the long run.
-
Consider Hardscaping Features
If the removal of plants leaves behind large empty spaces, consider incorporating hardscaping elements such as patios, walkways, or decorative stones. These features can add structure and definition to your yard, provide functional spaces, and reduce the amount of lawn or garden area you need to maintain.
- Patios and Pathways: If you love outdoor entertaining, adding a patio or pathways can enhance the usability of your yard.
- Retaining Walls: If your yard is sloped, retaining walls can help manage soil erosion and create level areas for planting.
Hardscaping can add beauty and functionality while reducing maintenance in areas that might otherwise be difficult to landscape.
Conclusion
Restoring your garden after tree removal is an opportunity to reimagine your outdoor space. By following these steps, you can create a vibrant, functional landscape that suits your needs. At Flask Gardening & Maintenance, we provide tailored solutions to help your garden thrive. Contact us to explore our professional landscaping and maintenance services to transform your garden.
FAQs:
What should I plant after tree removal?
Consider native plants, shrubs, or flowers that match the light and soil conditions of the area.
How do I fix compacted soil after tree removal?
Use aeration tools to loosen the soil, and add organic matter to improve its structure and fertility.
Is stump grinding necessary for landscaping?
Stump grinding is highly recommended as it prevents regrowth, eliminates trip hazards, and creates a clean slate for landscaping.
How long should I wait before planting after tree removal?
It’s best to wait 4-6 weeks to allow the soil to stabilise and regain nutrients before planting.
What are some alternatives to replanting?
You can replace a removed tree with garden beds, water features, or decorative landscaping elements for variety.